
HAPPY NEW YEAR YAW!
I've been searching high and low for beanies that doesn't cost more than RM10. Honestly, looking for cheap beanies is like waiting for a miracle to come. Ugh. It's ridiculous how majority of the beanies sold domestically costs more than RM20. Like, are you fucking kidding me?
What's worse is that, most of the statement beanies has like.. super obnoxious writings like Swag, Dope, Geek, whatever whatever whatever. Or symbols like the yin yang symbol, weed leaves and all that jazz. It has became such a trend, you can almost bump into anybody who has the same beanie as you do. So might as well make one of your own!
Today I'll be sharing with you guys on how I made my own statement beanie. The steps are really really simple and easy. Possibly the easiest, till you don't even need a tutorial! Like, seriously! Anyway, here goes;
IT'S TUTORIAL TIME!
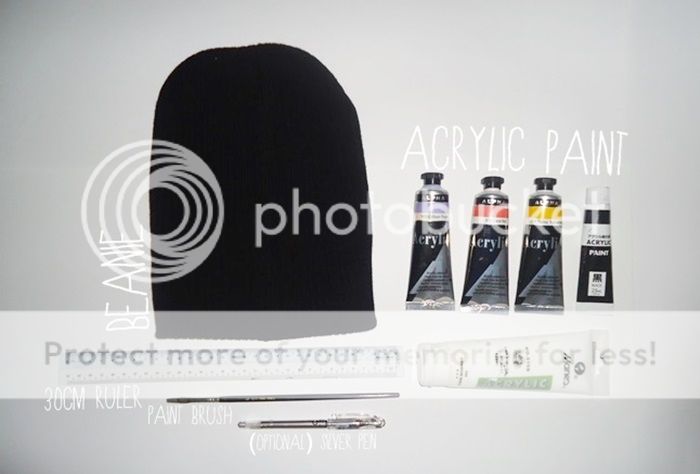
THINGS YOU'LL NEED:
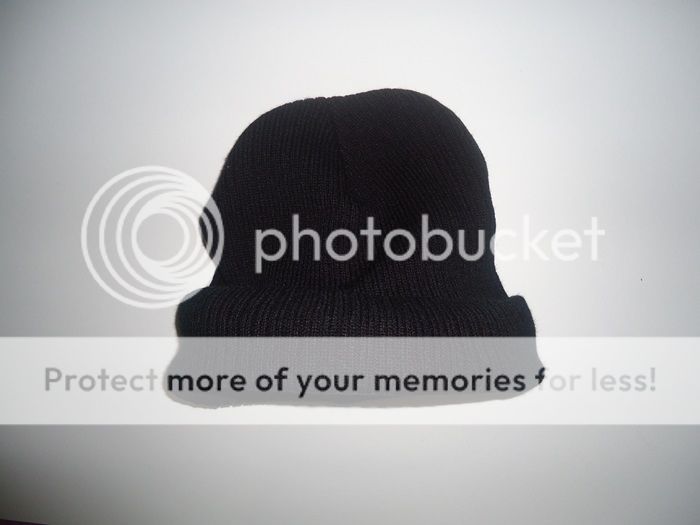
- A plain beanie (I got mine for RM5)
- Acrylic paint
- A long ruler
- A paint brush (you might need more than just one if you plan on using multi-colors)
- OPTIONAL: silver pen (this is to apply guidelines onto your beanie)
Okay so, if you're wondering if the paint will come off; it won't. Once your paint is dried, it'll be there permanently. Don't worry about cracks cause your paint won't crack unless you apply a thick amount of paint onto the surface. But it mostly won't crack. That's the wonders of acrylic!
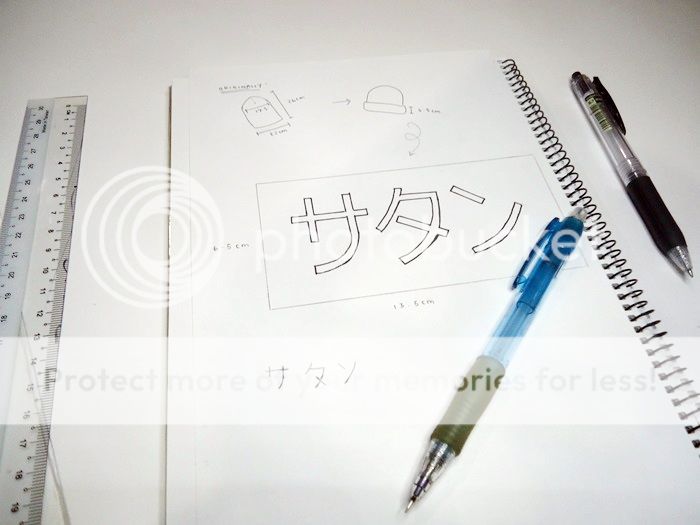

STEP 1:
First off, you might need to blueprint your own statement. Ensure that the measurements are as equal to the banner (the part where you will paint your statement on) of the beanie. Mine is approximately 6.5cm of height and with a width of 22cm. The width doesn't really matter but if you're a meticulous person, it's okay to consider every part of the measurements. For me though, I measured my width based on the size of my writing. I estimated the length of it as 13.5cm.
So, yeah, you get the drill.
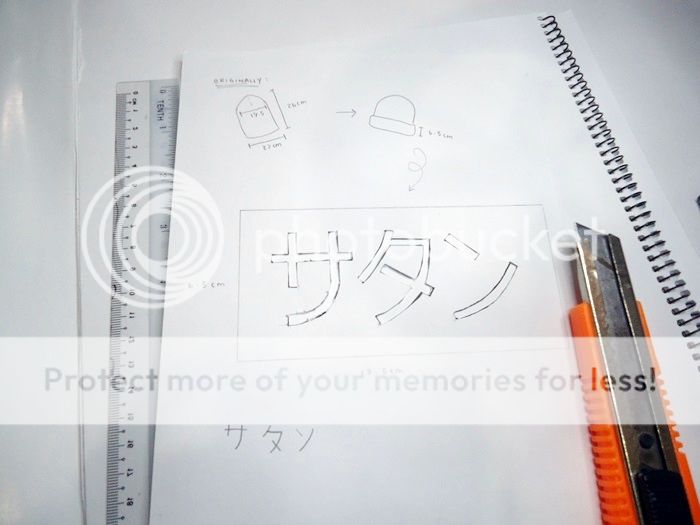
Once you're done with the blueprints, carve out the outlines of your statement with a penknife and a ruler to ensure its straightness. As soon as you're done with it, cut out the 6.5cm x 13.5cm (that's my measurement, other's may vary) banner.
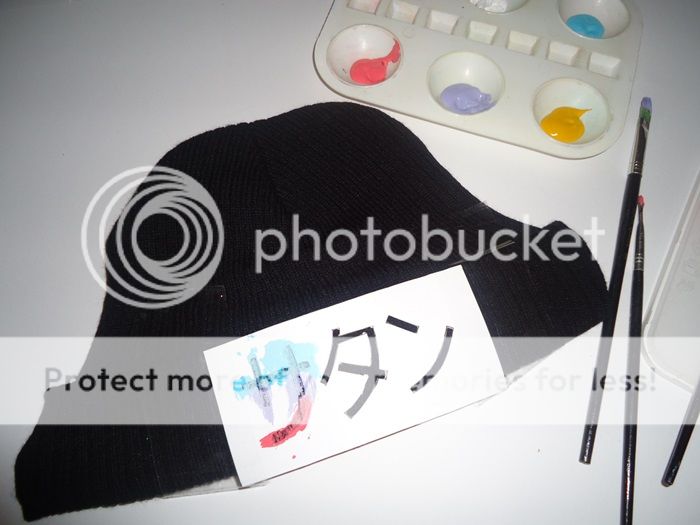
STEP 2:
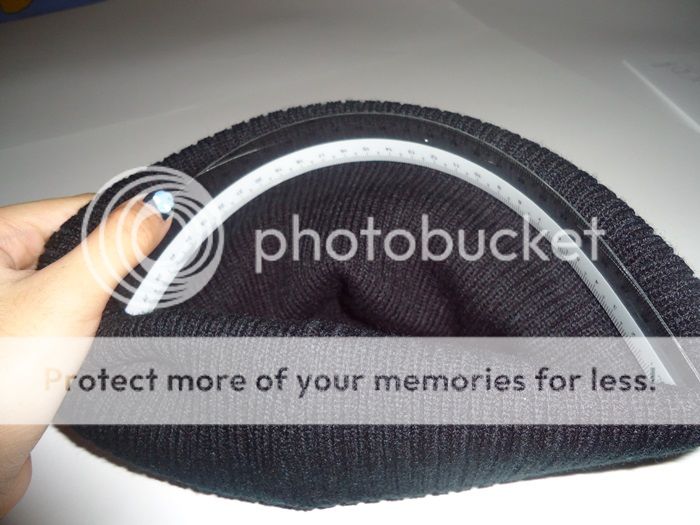
With your long ruler, place it inside your beanie, right under the banner area (part where you will apply your statement). Then gently press it down to make it straight so that it'll be easier for you to paint.
This is really important because when you wear your beanie, it will stretch. If you paint with your beanie while unstretched, the whole writing will go out of shape, and have like, holes or lines in between. So, painting your beanie while it is stretched is very important. You can either use a long ruler to stretch it (as shown) or just pin your beanie (whilst stretched) onto a soft sewing board.
STEP 3:
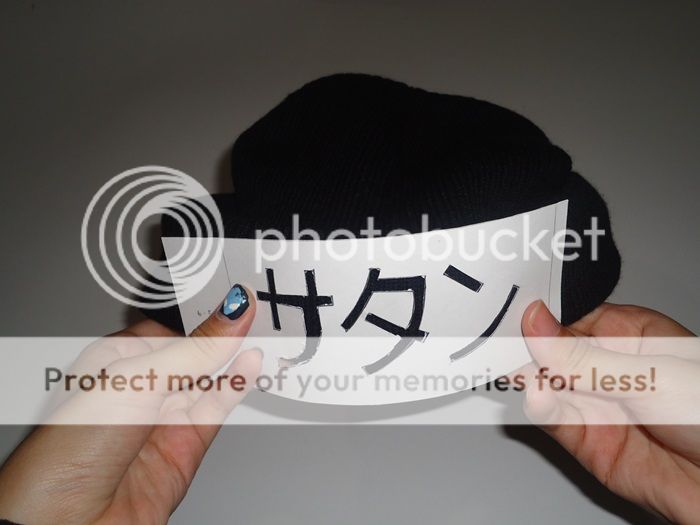
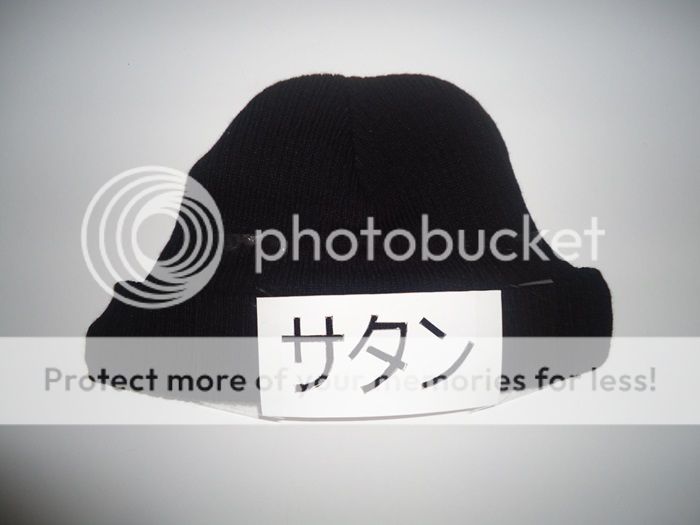
Once you placed your ruler under the beanie, stick your statement using a scotch tape. Or whatever tape that isn't too sticky but still durable.
Make sure that your statement is in its correct position, so that you don't get it wrong and end up regretting like a sad little pig olol ahahahh. No, seriously tho. I've been that pig before.
STEP: 4
Start painting!
Make sure you press onto the statement while you are painting, because some parts may pop out and cause you to miss-paint, which then your statement might end up out of shape.
Leave it to dry and then take off the tape, along with the statement once it is dried up.
If you notice that some parts of your writing is horribly out of shape, or just plain hideous; grab a black acrylic paint (depends on the color of your beanie) to cover up the mistakes. And tadaaaaaa! YOU'RE DONE!
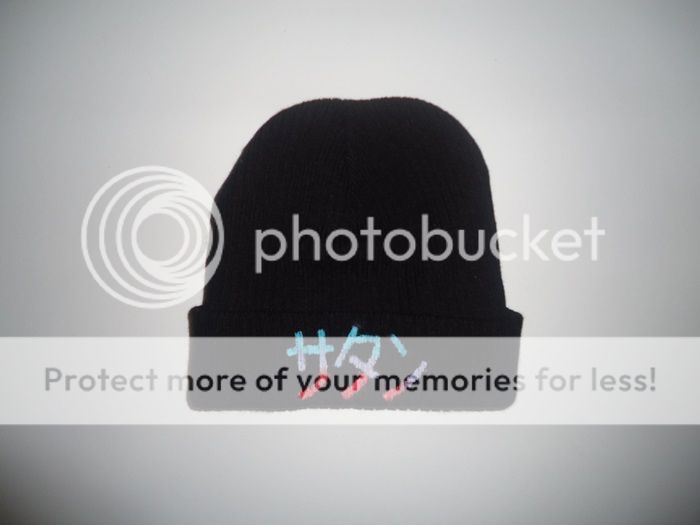
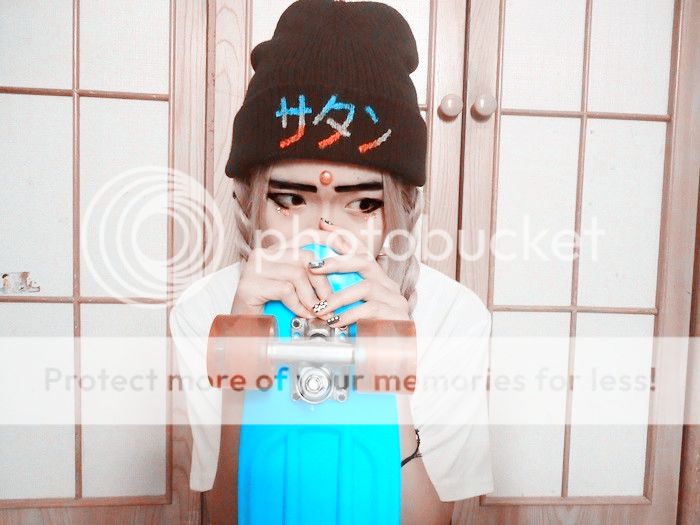
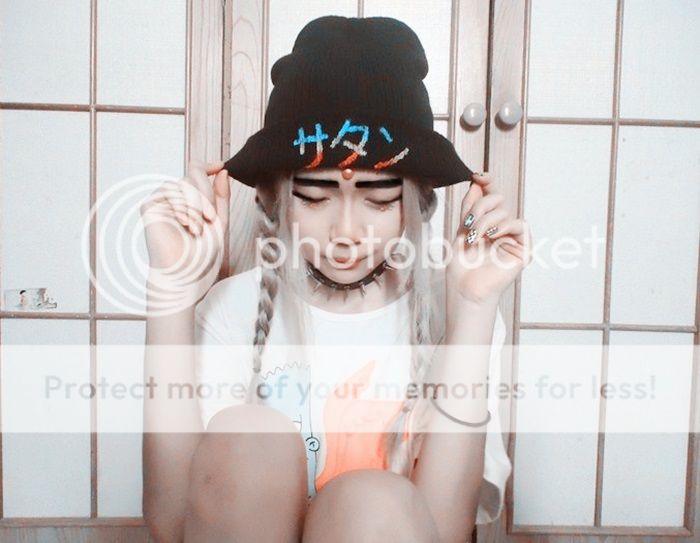
Homaigowd homaigowd, it looks soooooo pretty!
I'm so happy with the results AHHHHH OMMMMGGG. I honestly can't wait to make more of these since I have like, a bunch of acrylic paints laying around collecting dust. This is really exciting! Aahahahhahah. This will be such a great accessory to cover up my black roots too :3
Hope you guys do find this helpful! :3 eheheheheheh, till then!
No comments:
Post a Comment
Leave a comment